Showing posts with label DIY. Show all posts

Monday, 29 June 2015

Bottle cosy crochet

Lately there's been a lot of posts on FB on crochet patterns and that of course got my fingers itching. It's been some time since I did any crochet work, so I started work on a bag for myself, halfway through mini me requested for a holder for her water bottle. So my bag was put on hold and the holder was started, it was to be an overnight job with mini me checking on progress every so often, holding her bottle up against the work...talk about slave drivers! But I love it when she's excited about things handmade! This is another one of those things that bring back memories from the past. Making one of these bottle holders was the very first time I learned to crochet. Taught by one of my aunts, it was a gift I treasure for years after and still do.

Up close, using a self patterned yarn


Thursday, 16 April 2015

Casserole holder or carrier

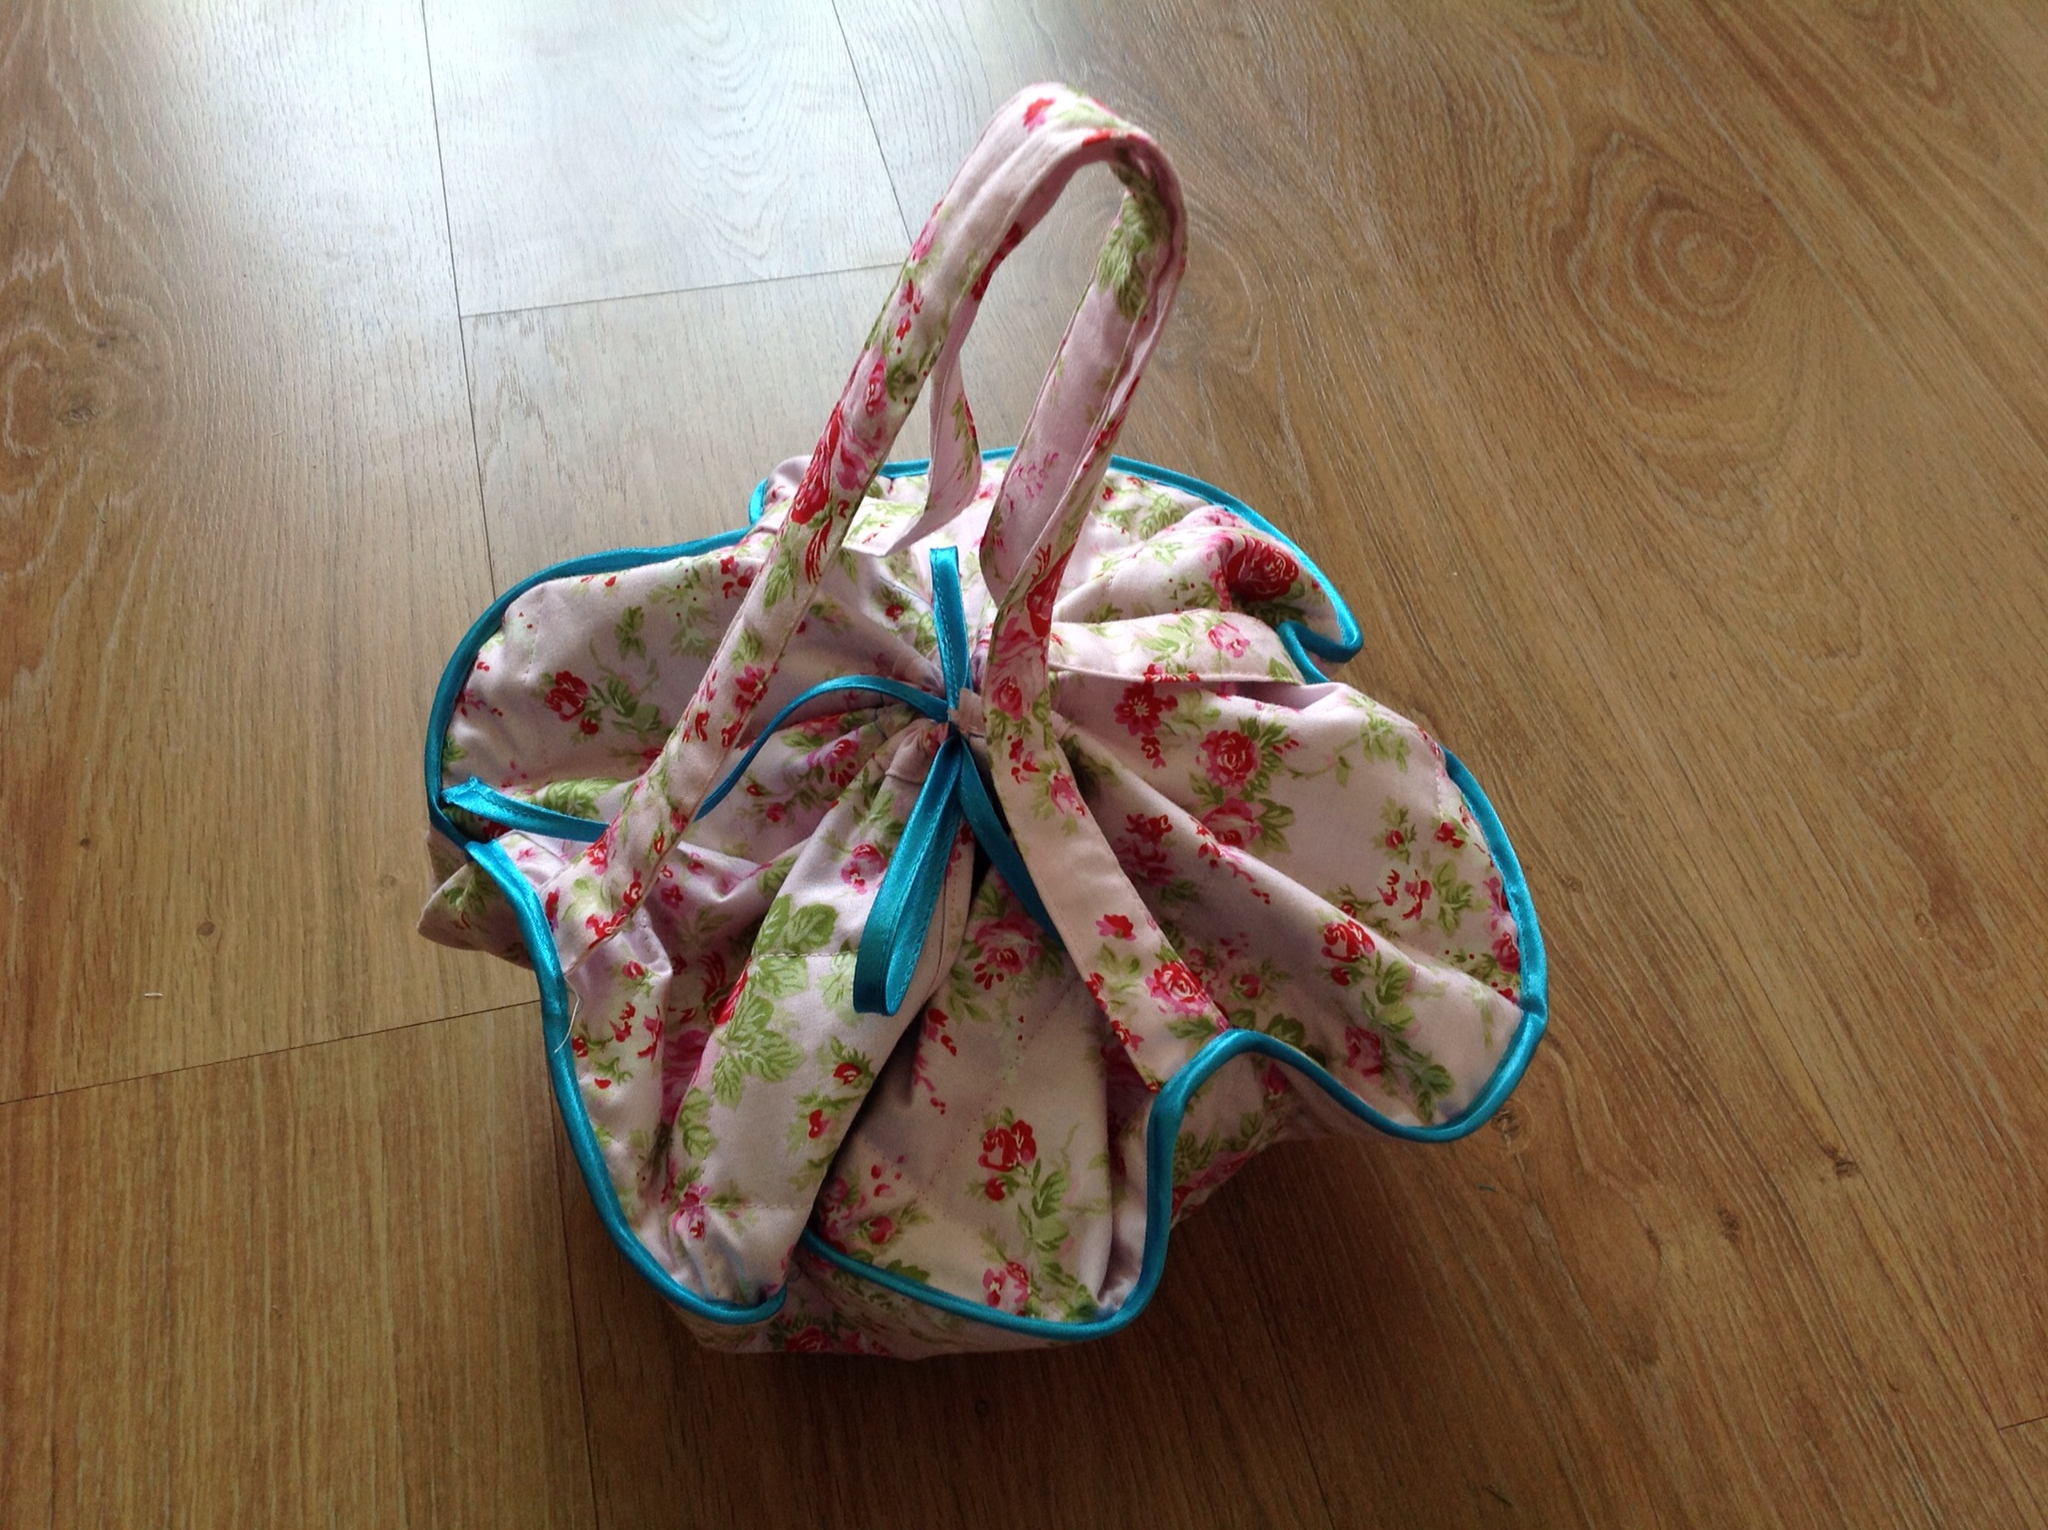
I have been busy on the machine again. This time it's making casserole carriers for two friends. As pot lucks are a thing with us Malaysians away from home, these lovely carriers are really handy for carrying food around in casseroles that are cooked it and also keeps them nice and warm.

Rather flying saucer like when flat


The other on..


Sunday, 1 February 2015

Buttercup 2 and 3

Here's buttercup 2 and 3! I made one for myself a while ago and my sis said she wanted one so out pops two more! Made with the same fat quarter of the first which came in a set. The original pattern didn't come with a zipper to close the bag but it's best to be safe than sorry. I put one in when I made the first but didn't take measurements or not ..duh! I did figure it out in the end and took measurements and notes. Hope you enjoy the bag sis!
Ready to get sewing
All together now


Monday, 13 October 2014

Buttercup bag

I decided to do some sewing a couple of weekends ago. I've been browsing patterns for bags and this one called buttercup bag from Made by Rae seemed to be popular. Another selling point is that it uses a fat quarter make with some material for the lining. I even managed to put in a recessed zipper, we can't be too careful can we when we are about town shopping away! The result is I loved the way it turned out and it was not complicated as the instructions were clear and easy to follow!

Love love the material!
Recessed zipper
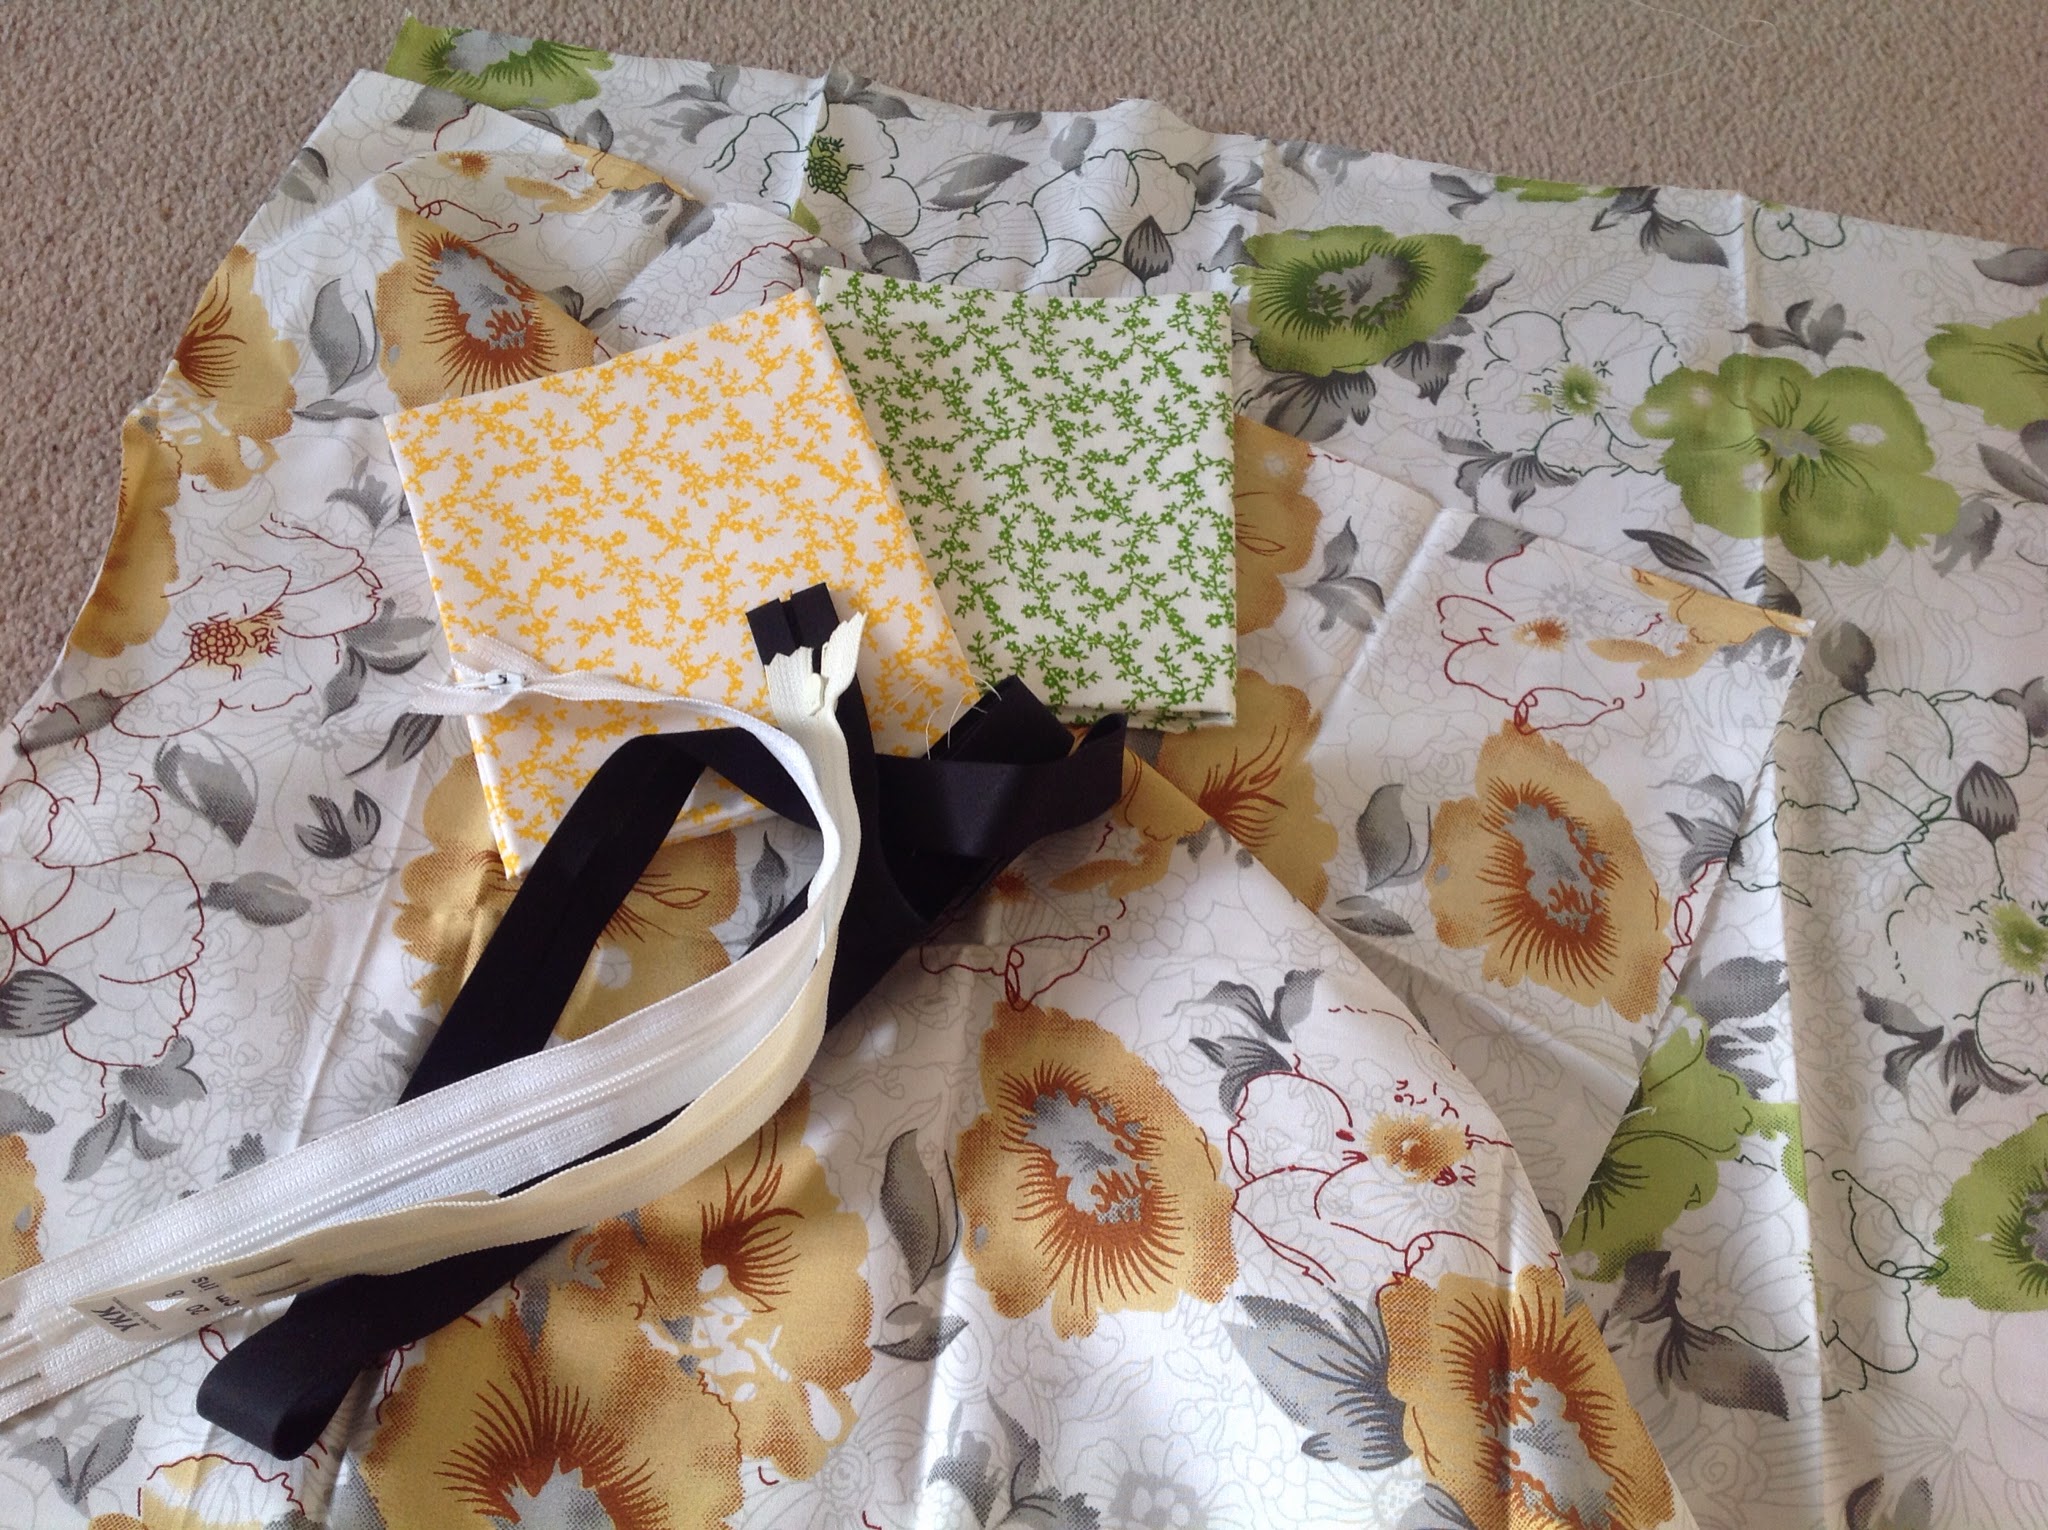
Interfaced and pleated, ready to sew


Tuesday, 18 March 2014

Zippered pouches

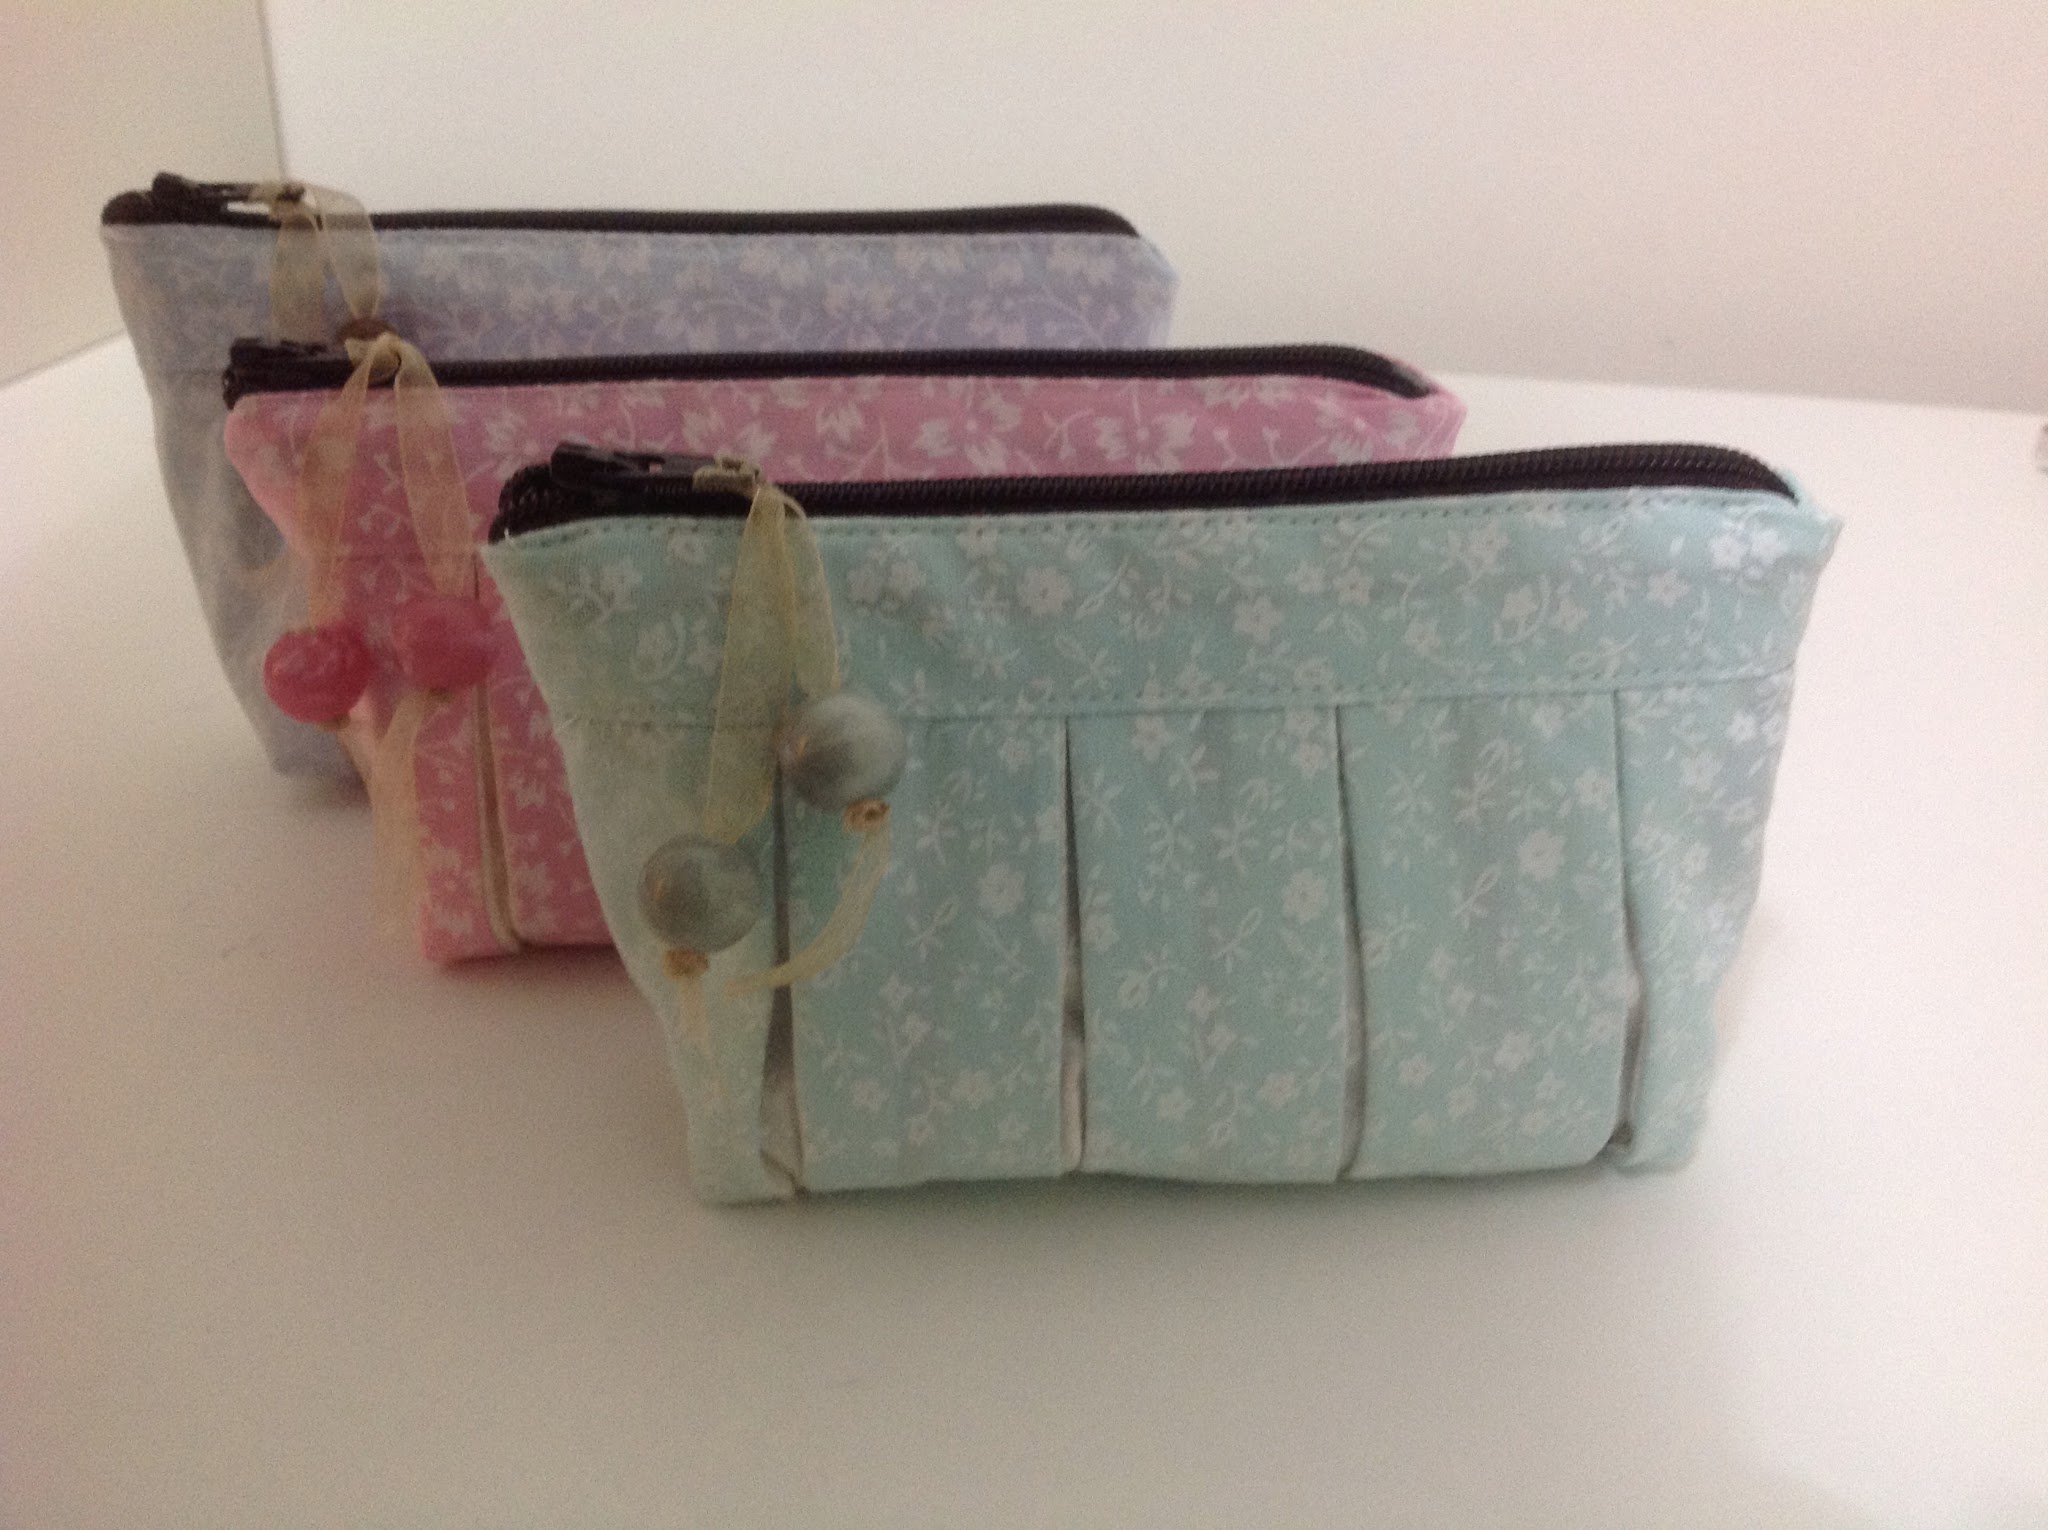
Work has been a little crazy recently and I've lost my mojo for cooking/baking and the garden in not quite ready for working in so I turned to sewing as my destress option. Over winter when kept indoors, I got quite hooked on watching uTube videos of people making little sewing projects. Now it's my turn! I was out in the shops (refer to top WORK BAD+BAKING NO NO =SHOPPING THERAPHY) and saw these sweet looking fat quarters. They were of complimenting shades of pastels, so out comes the sewing machine and some frustrated rummaging around to find the zipper foot, a lot of snip snip snip plus my usual finger in the air measuring... I was set to get machining! I really missed the soothing hum drum of the sewing machine, why have I waited so long...oh oh, I think I've caught the sewing bug!

Lined, zippered and adorned with dangly beads

After completing the first, I had to make another so see what it looked like in another colour then it became an obsession...suddenly there were 3!

Lucky for me I had some girlfriends who had birthdays coming up, so birthday presents sorted! Then I wanted one for myself! So more measuring, snipping and sewing....soon it might be time to lock the machine away else my garden will be barren and my family will be living on takeaways!

Making the pleats


Securing the pleats
Zipper time!
Shaping the corners
One for me..


Then I had to make one without boxed corners!


Saturday, 22 June 2013

Pincushion

Every time I sew something I find myself sticking pins on anything I can find and keep thinking to myself that I really need a pin cushion. Having just made a casserole cosy which gave me two little circles of offcut, it couldn't be easier! Now I just have to remember that I do have a pin cushion and use it next time I'm sewing.


Friday, 21 June 2013

Casserole cosy

It's been a long while since I did serious sewing as my toddler loves to get stuck in whatever I'm doing so scissors, pins and a sewing machine are nos nos. I chanced to have a few days off work this week and so it was time to break out the sewing machine. So many projects to choose from, I was contemplating circle skirts and even a dress (being overly ambitious there) then I settled on this casserole cosy, whenever I attend a pot luck, some of the ladies will bring their casseroles in these lovely and yet practical cosies. Easy to carry, insulated to keep the food warm (important in this climate) and most importantly pleasing to the eyes! I found a pattern a while back so out it came and after some planning (done in my head, yes, I'm one of those gungho sewers) I put scissors to fabric. After some unpicking due to gungho attitude and an almost missed hair appointment due to being too engrossed in trying to complete it before little one comes home from nursery, I managed to complete a decent looking casserole cosy....now when is the next potluck so I can show off? Haha....

Machine quilt with thermal insulation
Empty cosy, showing the contrasting lining
Top view


Tuesday, 2 April 2013

Sink splash back on 24hrs

Putting up a splash back for the guest toilet has been long debated. Finally over the Easter holidays, I decided to bite the bullet and go for it. After long deliberation over which tiles to get at the superstore, luckily they only had a small selection else I would have been there the entire day trying to make a decision! It was home with the supplies and straight on to getting started else it will all sit in the garage and not get done at all. So after a long time struggling to cut the tile trims to size and matched at the corners, I was ready to go! The tiles were mosaics and though they were held together largely but mesh it was still fiddly to get them to stay straight....another one of those moments when you wished you had three hands instead of two. After a quick inspection by the other half and some adjustments, it was up and then the wait for the adhesive to dry. After 24 hrs, it was dry and ready to grout. The results after grouting is we now have a splashback over the sink....hmmm, I wonder if I should have gone for the lighter shade if tiles!! Just kidding, I love what we bought!

The finished look!
The before look